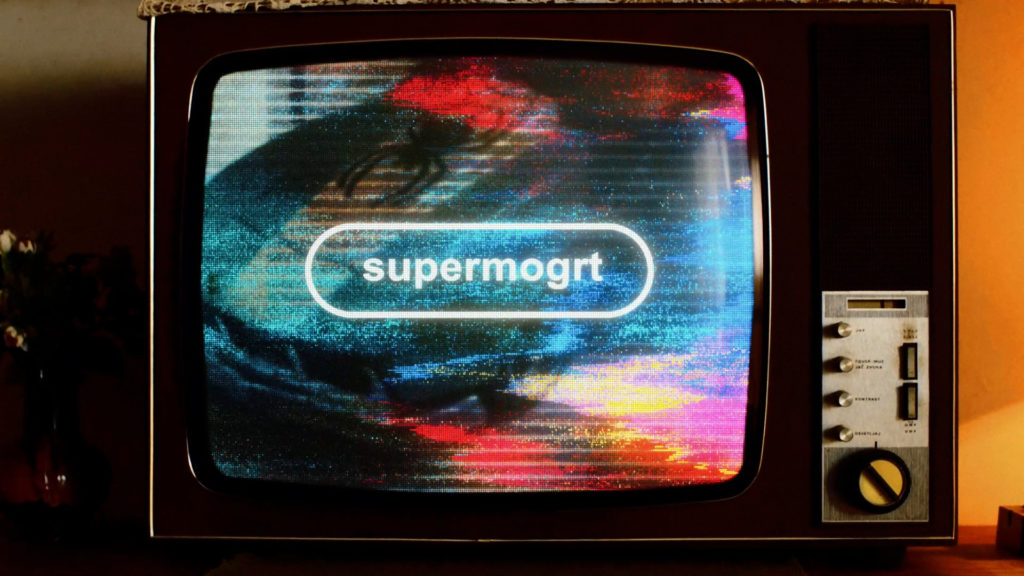
Create stunning animated titles without opening After Effects. Here are a few things you can do with the SuperMOGRT Premiere Pro template.
The first iteration of SuperMOGRT was created by a motion designer for a video editor, specifically me. I’m not terribly good in After Effects and I would even get headaches trying to use After Effects templates. I’m the kind of editor who likes to keep everything in Premiere Pro, usually pushing the limits of the software. I told my friend Todd about a new type of motion graphics template Adobe had developed to make it easier for motion designers to create animation and send editable files to editors.
The original idea was to create titles and lower thirds that could be entirely edited inside of Premiere Pro. MOGRTs (MOtion GRaphics Template) were the answer to my problem. I could easily edit text, type in chapter titles or the names of people being interviewed. Not only could I change the text and fonts, I could also select from a collection of animations by just clicking a check box. It made EVERYTHING easier.
As Adobe added more features to MOGRTs, I would go back to Todd with more requests to update the original template. Well, he overdelivered in every way possible, adding custom style effects like wiggle animations, neon text, and animated backgrounds. SuperMOGRT not only does everything I need and want, it does so much more. Plus the way it was developed allowed it to be optimized to work quickly in Premiere Pro. Some MOGRTs can be really heavy and taxing while editing and rendering, that’s not really an issue with SuperMOGRT. I’ve personally used dozens of SuperMOGRTs in a single project and it worked flawlessly. Here are a few of my favorite tricks I’ve learned after using the template for the past few years.
1. Remove Intro/Outro Animation
When you turn on an animation in SuperMOGRT, it automatically applies an animation at the beginning and end of the clip. If you only want the animation at the beginning or end of the clip, all you have to do is cut the clip where the animation plays. What’s nice about SuperMOGRT is that it uses a form of time remapping that can remove the animation.
Let’s say you have a subject talking and you want animated text at the end of the clip, but not at the beginning. All you have to do is CUT the SuperMOGRT where the first animation ends. Now delete the opening animation and that’s it.

That’s not all. If your titles are now too short, you can just drag and extend the SuperMOGRT to the length you need, and the animation WILL NOT come back. It’s a very simple way to only animate one part of your titles.
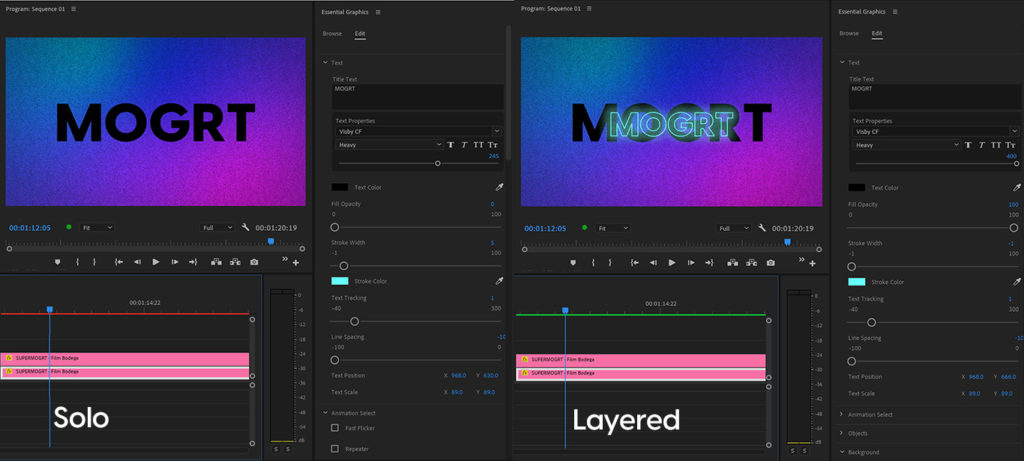
2. Layer Multiple SuperMOGRTs for More Effects
Add multiple mogrts with different animation settings to create unique looks, layer multiple text or font layers, or even activate multiple animations and styles.
Let’s take this look for example. You may recognize this shot from the SuperMOGRT trailer. To create this look, all you need to do is layer two SuperMOGRTs in the Premiere Pro timeline.
STEP ONE: Add a Mogrt to the Timeline
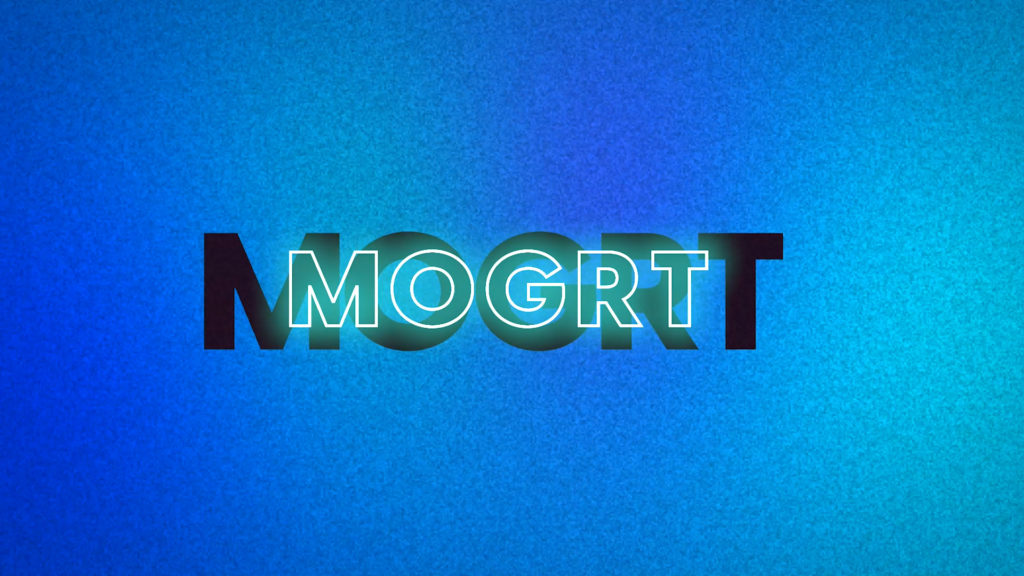
The bottom SuperMOGRT layer will be our background and dark text. Add a SuperMOGRT to your Premiere Pro timeline.
In the Essentials Graphic panel, go to the Text dropdown menu and add your Title Text and select your font. Adjust the size and position to be whatever you like. For the color in the example, let’s go with black.
STEP TWO: Stylize and Customize Your Look
Now open the Background drop down and turn on the Background and turn on the Gradient toggle switch. You can choose whatever colors you want to customize the look, but we’ll just use our default colors for this example.
To add the grainy texture, open the Style Options dropdown menu and turn on Pencil Texture. Now you can adjust the Pencil Texture Amount slider to your liking.
STEP THREE: Add Another SuperMOGRT and Customize
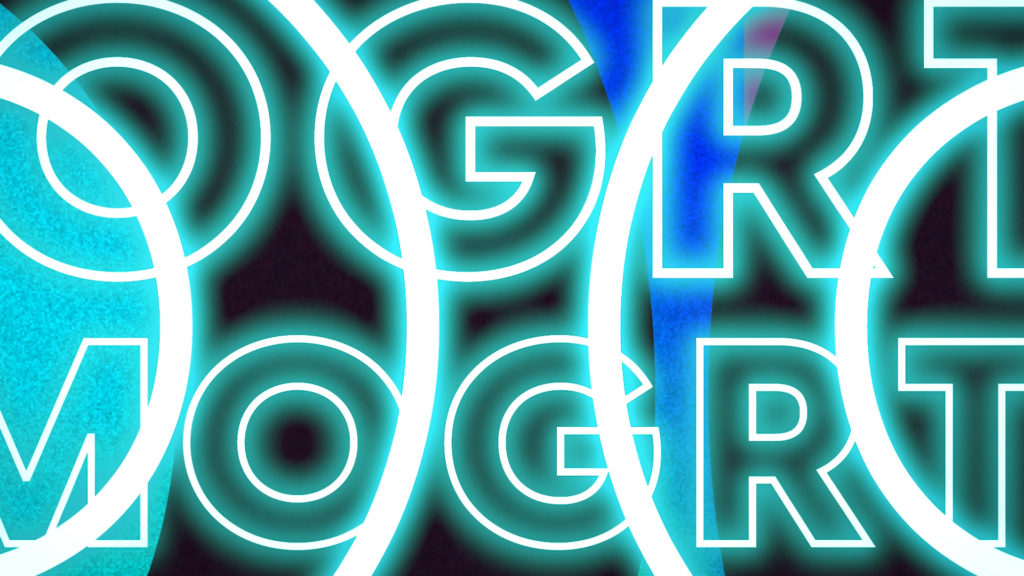
Now add another SuperMOGRT to your timeline on top of the previous layer. Open the Text dropdown and add your Title Text. For this outline effect slide the Fill Opacity down to 0. Now add a Stroke Width and make it as big as you’d like. You can also change the stroke color if you choose to. Then adjust the scale and position to find the right look.
Finally open the Style Options dropdown and turn on the Neon Glow. You can adjust all the sliders and change the colors to match your own style.
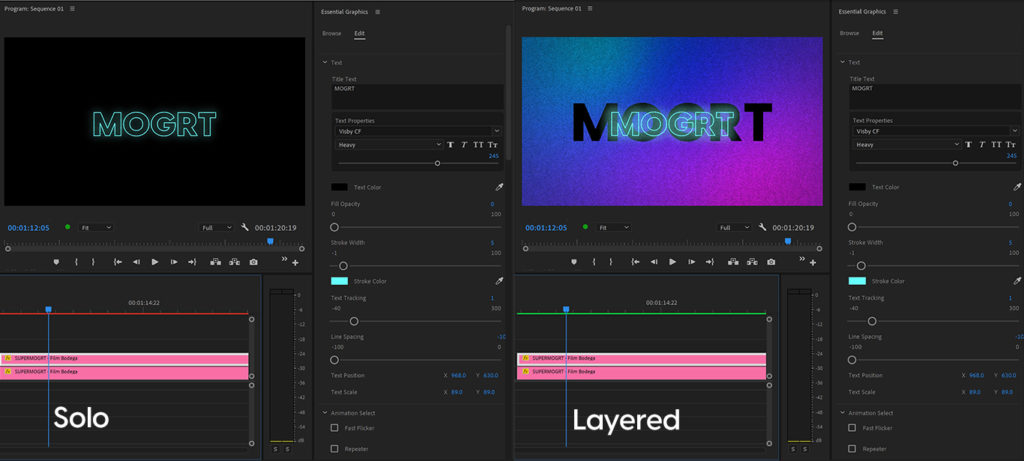
If your SuperMOGRTs are stacked directly on top of eachother and begin at the same time, your animations will automatically sync to play and stop at the same time. You can also turn off animations if you only want to use a basic title.
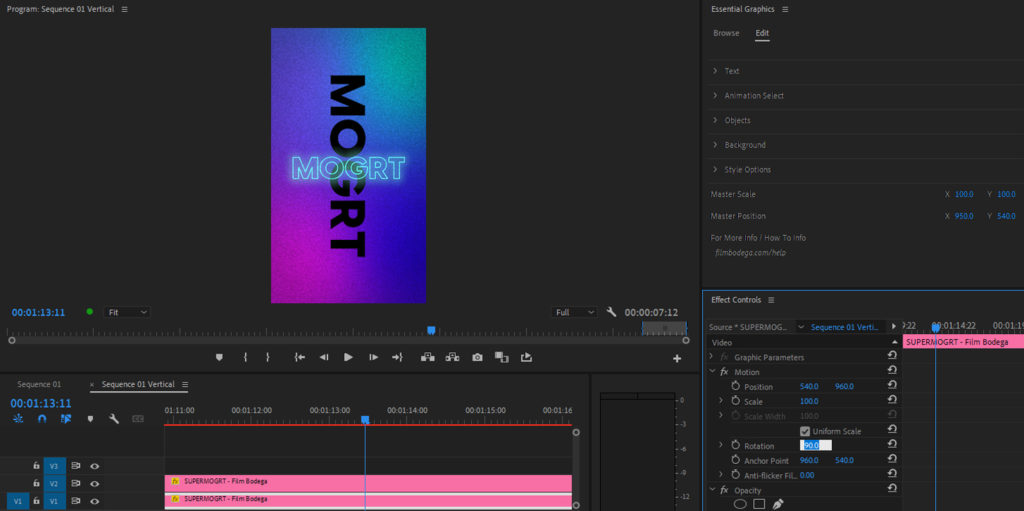
3. Match Looks on Social Edits (16:9, 9:16, 4:5, 1:1)

This is one of those secret tools that just has so much power. If you are doing any client work, nearly every type of deliverable is now needed for the client to have edits to post on social media. That includes your standard 1920×1080, vertical videos for Instagram and Tik Tok, square videos, 4:5 videos, and even any custom sizes need for ad campaigns or custom displays.
Have a video that needs a social media edit? Just change you sequence settings and adjust the built-in Master Scale.
In this example we are going to turn a 1920×1080 sequence into a vertical 1080×1920. After you finish your standard edit, duplicate your finished sequence to make a vertical 1080×1920 version. Open the duplicate sequence and change the sequence settings to 1080×1920 (or whichever size you need).

If your text doesn’t fit, you can either adjust the size of the text or use the Master Scale option in SuperMOGRT to adjust the size.
Now click on the bottom layer and navigate to the Premiere Pro Effects Controls panel. Rotate the clip 90 degrees and now your background layer is rotated. If you do not want to rotate your background text, you can delete it from the background and add another SuperMOGRT with the text if you want.
4. Colorful Animated Text

Sure, you can just change the color of your text in SuperMOGRT, but what about creating a title that had color changing text? You can use the Animated Gradient background and a Track Matte Key to create this unique look.
STEP ONE: Add SuperMOGRT to the Premiere Pro Timeline
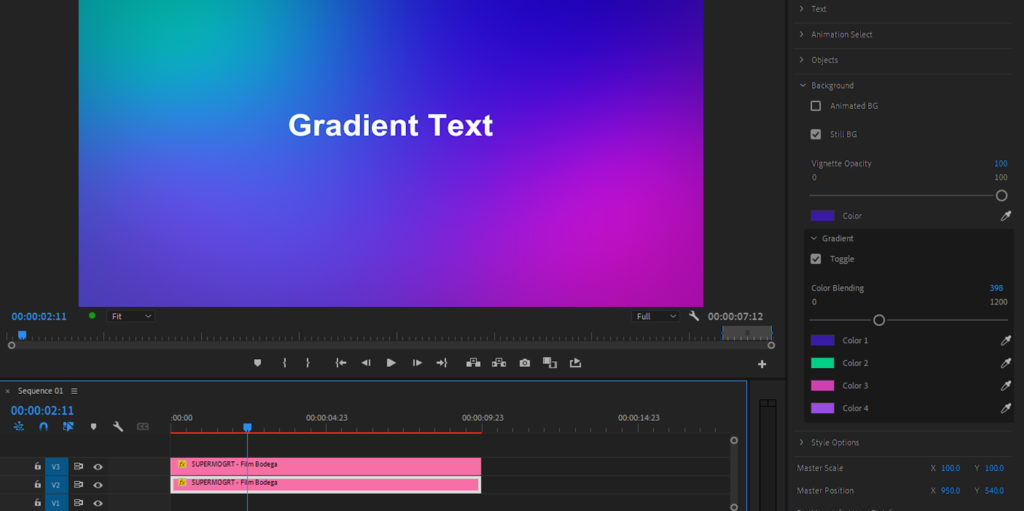
Drag a SuperMOGRT onto the Video 3 (V3) layer of your timeline. Add whatever text you’d like to use and turn off any backgrounds. Keep the color of your text white.
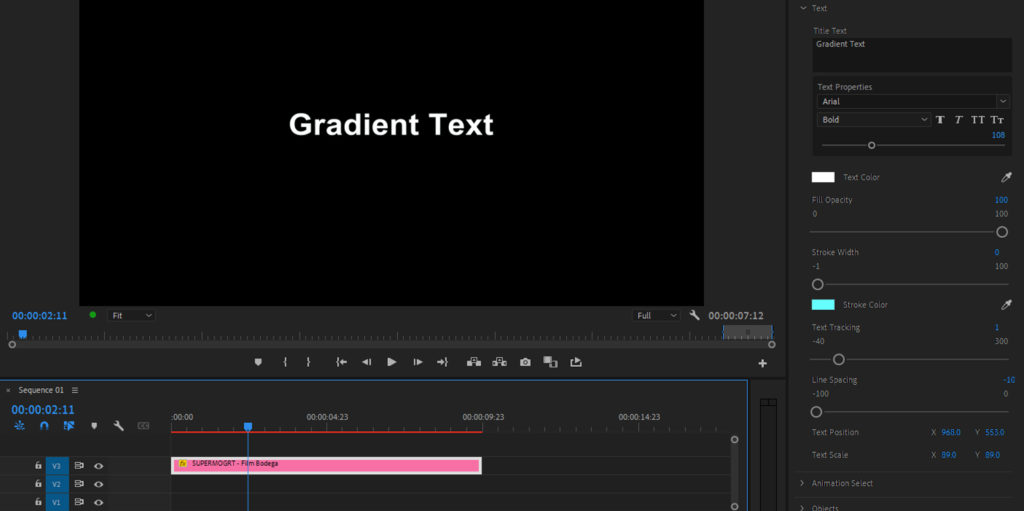
STEP TWO: Add Another SuperMOGRT to the Premiere Pro Timeline
Add a second SuperMOGRT to the Video 2 (V2) layer. Remove text and turn off any objects, we only need to turn on a Gradient background. Select the colors you want to use.
STEP THREE: Add Track Matte Key Effect
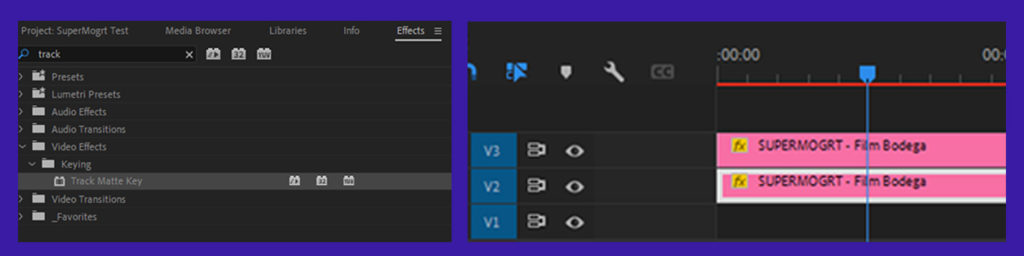
Go to your Effects panel and search for Track Matte Key. Drag the Track Matte Key effect onto the V2 gradient layer to add the effect.
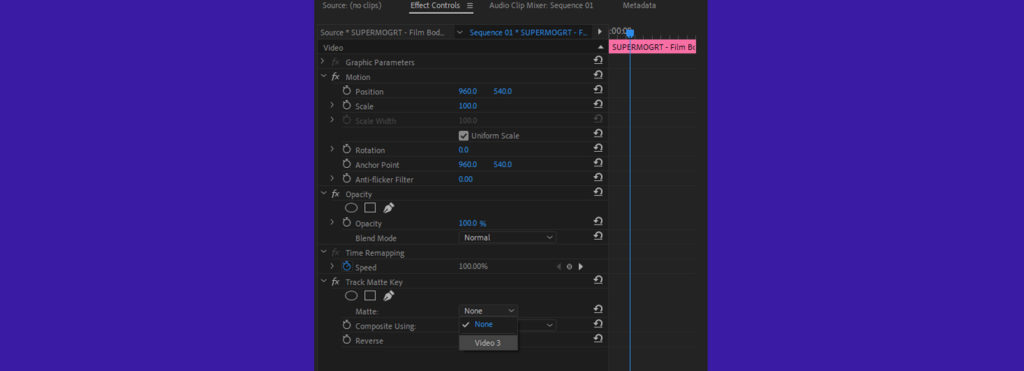
Open the Effects Controls and set the Matte to Video 3.
You now have animated gradient text for your video. Way to go!
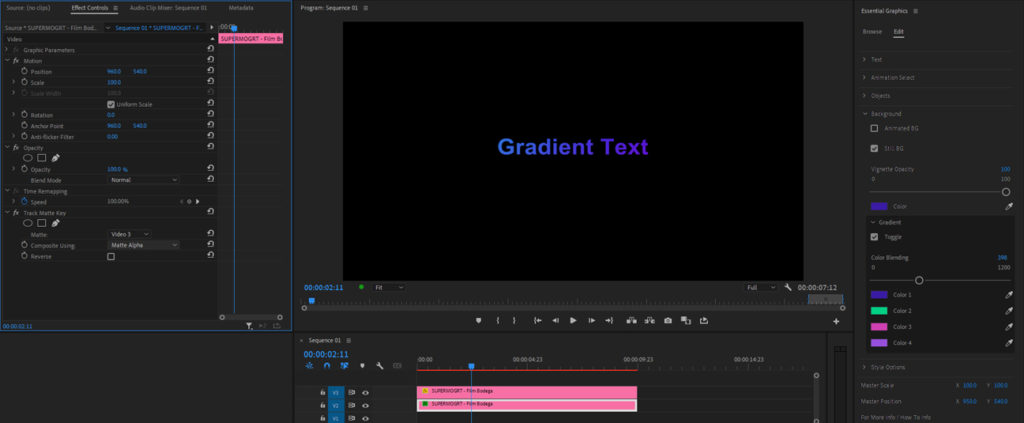
You can still apply other SuperMOGRT effects to your text layer, like adding Neon Glow for an added flare to your Premiere Pro titles.

5. Layer With Animations to Create Hype Looks
Want to use your own footage or animation as background? Just make sure your background is turned off and you can put SuperMOGRT on top of any clip in the Premiere Pro timeline. This example just features abstract animations underneath multiple SuperMOGRTs that change the style effects. With a SuperMOGRT of the V2 layer, you can put anything on the V1 layer to create unique looks.

Don’t Have SuperMOGRT? What are you waiting for? Grab it today.