
Create this trending rounded UI/UX look all inside of Premiere Pro. Add any video background or animated gradient to complete the look.
I recently had a tech client who wanted to create a series of product training videos and commercials for their web-based platform. They asked if I could add a gradient background to the videos to give them the modern rounded corner look.
I knew this would be a series of videos that would require me to replace screen capture footage quickly, so I wanted to make a non-destructive system that I could easily go in and replace or tweak any shot in the video without have to make adjustments to the masks or effects.
I recorded my screen with OBS as I walked through all the necessary steps needed for the video. Then I brought that footage into Premiere Pro to edit.
Step One – Create Mask
For the mask to be non-destructive, meaning you have total control over you footage to tweak and adjust, you will want to use an adjustment layer.
Add a new adjustment layer. I named mine Mask.
Open your effects and find a shape to add to the adjustment layer, I went with Ellipse. You can find this under Video Effects > Generate > Ellipse.
Drag the ellipse onto the adjustment layer. Don’t worry about the shape color or anything, we are just using this to create a mask and it won’t be visible.
In the Effects Controls under the Ellipse, add a 4-point polygon mask. Resize the mask to create the look you want. You can hold down SHIFT and drag out to scale the mask.

You can further adjust the Mask Path by moving the points around in the program monitor.
To get rounded corners, adjust the Mask Expansion to around 20-35. Really whatever looks good to you. You will also want to drop the feathering down to 1 or 2 to give it a clean edge. Click Invert and now you will see your footage with a rounded black mask.

Step Two – Add Background
For the background, you can use anything you want. You can import footage, images, or create a 4-color gradient in Premiere Pro. To avoid having to animate the gradient in Premiere Pro, I use the animated gradient background in SuperMOGRT.
You want to add your background to the bottom V1 layer in Premiere Pro. Don’t worry that you can’t see the background yet. We have one more step to make the background appear.
Step Three – Create Nested Sequence
Select all the layers above your background, including the adjustment layer. Right-click and select Nest.

This creates a nested sequence and now that your mask is in the nest it will no longer block out your background. The benefit of using a nested sequence is that you can still open the nest and adjust the screen capture or mask for any fine tuning.
Now with your background visible you can scrub your video for reference clips. For this I’m going back to the Google logo and then using the color picker tool in SuperMOGRT’s gradient to adjust the background color.
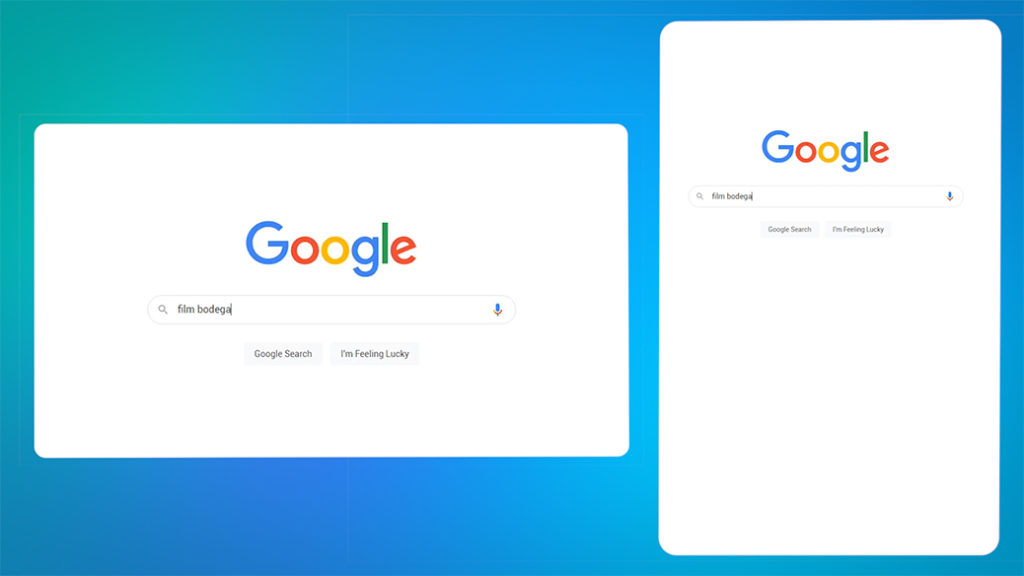
Bonus – Create Mobile UI/UX
This same technique works great for mobile layouts as well. If you have a screen capture of a mobile site, you can just adjust the size of your mask to make it look like a phone or tablet.
Open your adjustment layer settings and change the mask path points to create a vertical display. Then you can replace the footage or scale it to look like a mobile device.
You can use rulers and guides to line up the mask properly. If you aren’t familiar with the rulers and guides I’m using in Premiere Pro, you can learn about them and a few more hidden features in this 5 Hidden Premiere Pro Features tutorial.
Super Easy. SuperMOGRT.
The insanely powerful motion graphics template that makes things easy.
Get the Premiere Pro animated titles and background tool now for only $10.