
If you’re making a sci-fi epic and want to add a little bit of practical movie magic, we’ve got the goods right here for FREE.
Around here, we have a little bit of an obsession with practical effects. Any time you can use actual real elements to beef up a visual effect you should do it. In my personal opinion, no amount of meticulous simulation in houdini or any other software will really truly match up to the real thing when captured properly and in a versatile way.
We’re on the mission of capturing as many practical elements that can be used in film-making and VFX design as possible, hopefully with the intention of making it affordable or available to anyone who needs to use them. We’ve been working on some sci-fi stuff ourselves, and
that’s why we made these space textures.
Regardless of what software you like to use, there’s almost always some application for a high-quality video card that you can drop in and add a ridiculous amount of highly detailed organic texture to a scene that is supposed to take place in space (taking a page out of the Tree Of Life book). These elements were captured in 12K quality using completely practical liquid dynamics, and then down-rezed to 6K quality (so as not to absolutely destroy your machines, but only half destroy your machines). We spent multiple days cleaning a piece of glass and dropping various liquids of different colors onto it so that there would be a ton of options to choose from.
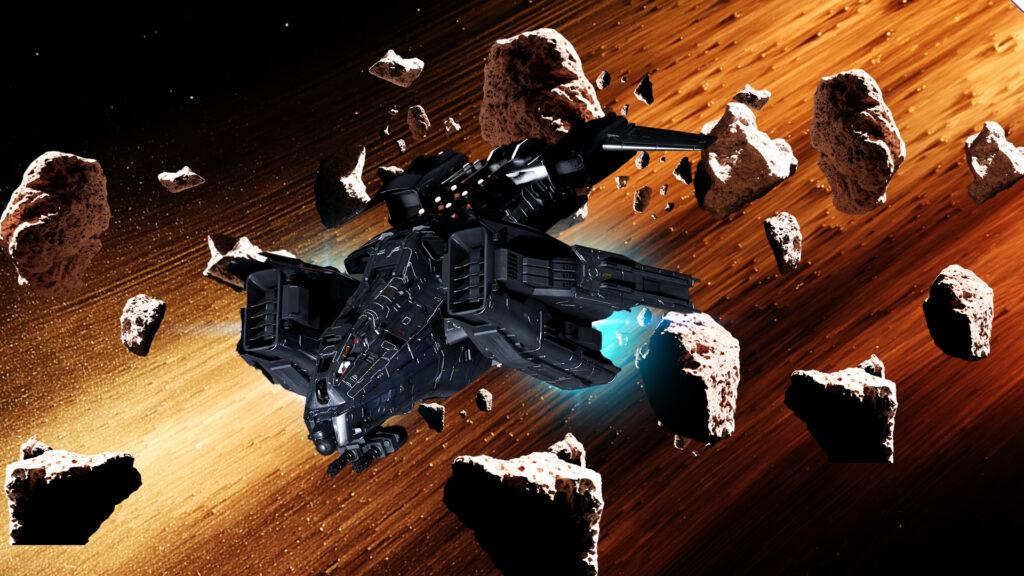
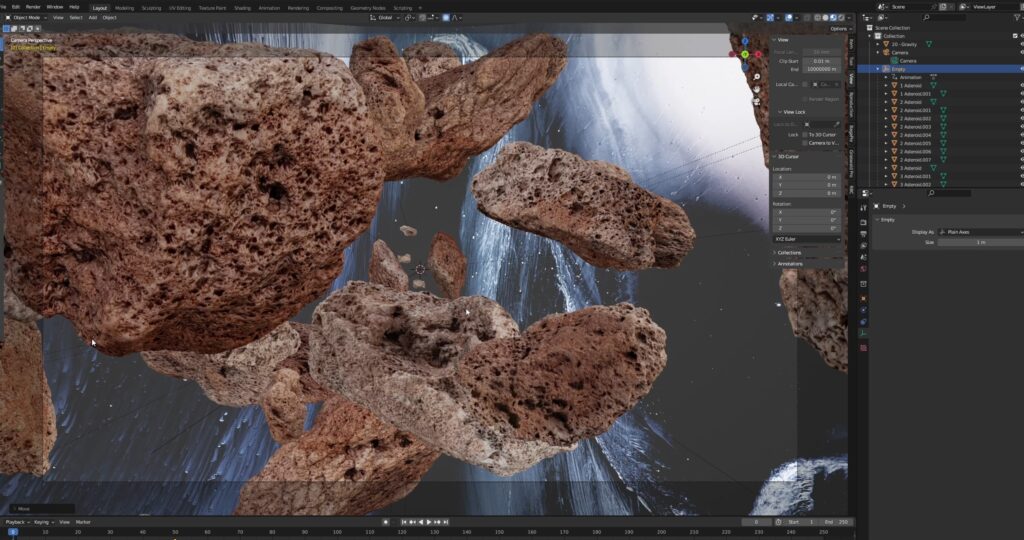
Also, just because I needed them for the scenes myself, I decided to scan some lava rocks and run them through polycam to create some pretty convincing asteroids for your space scenes as well. We’ve provided these 3D asteroid models in both .fbx format as well as a .blend file for our fellow blenderheads. So, you can download those asteroid models here for free.
So whether you want some super high-res space textures or asteroids for your next sci-fi epic, we got them for FREE right below.
Download Free 6K Textures and Assets
By downloading, you agree to the Film Bodega Terms of Service. These video elements can be used in any personal or commercial project, no credit is required. We do not offer technical support on free downloads.
Using The Textures In Blender
In Blender, it’s really pretty easy to use these elements. The first thing you’ll want to do is make sure you have images as planes enabled. This is an add-on that you’ll find inside of the preferences panel, you’ll want to make sure that’s enabled. If you want to check, just hit Shift+A and see if images as planes is an option in that menu. If it is, you’ll just select it, and navigate to your space texture file of choice.
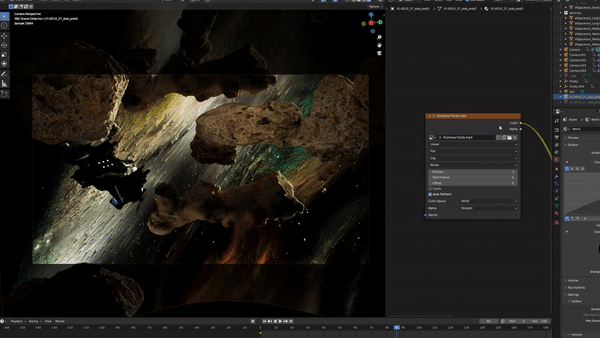
Once you’ve selected it, it’s helpful to select “Emit” in the side-panel. This will create an emissive texture, which will skip a step or two. From there, you can scale your space texture up as big as you’d like and push it really far back in space. In the video, I used the asteroid elements to add some sense of depth and scale (not to mention speed, if you have a ship or something flying through space in your scene).
I really like to add some edge loops both horizontally and vertically to the media plane and use the proportional editing tool to create a little bit of a concave in it, so that as your camera moves through your scene, there’s a little bit more of a sense of depth.
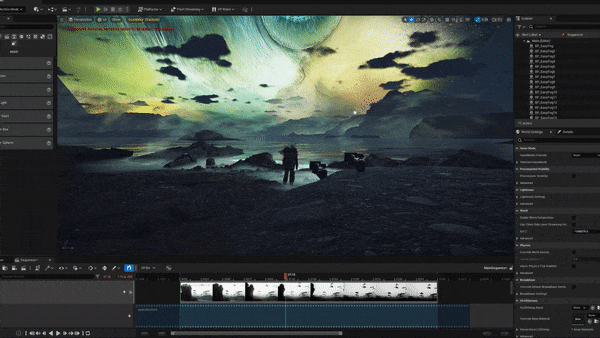
Using The Textures In Unreal Engine
Unreal Engine is surprisingly good at handling these high-res media files. First I’d recommend making a folder for the whole setup, and then you’ll right click in the content browser and go to Media>File Media Source and click that. Then, you’ll go back to that same media menu and create a media player, and click the check box to create a media texture.
Then you’ll load your space texture of choice into the file media source, and select “pre-cache media”. This makes everything playback faster but will use a bit more VRAM. Then, select your space texture in the media player playlist. Then, select that media player in your media texture. Make a plane that matches the aspect ratio of the footage (16:9 in this case), and drag your “media texture” to it. Nothing will happen, not just yet.
From here, we need to create a level sequence (if you don’t already have one) which is found in the “Cinematics” section of the right click menu in the content browser. Then, in the sequence, we’ll right click on some empty space and add a media track. From there, click the little plus icon on the timeline next to the media track, and select your correct media player under media source. Now, right click on the created clip in the timeline and make sure your media texture is correctly selected as well as the media player. Now, your space texture should show up in the scene on the plane you created, and when you hit play, the video file will progress.
Check Out The Full Pack
If you’d like to purchase the full pack of space textures instead of just the free ones, check them out here.